Is there anything more happy and cheerful then a pinwheel? Memories of your childhood when you got a special treat to hold one and make it spin continuously either by running with them or blowing into them.
My Biz came across this craft, for our bimonthly craft session. What a perfect idea for a summer wreath! That's why I keep her around, she's full of those good ideas...and she brings brownies. Plus she makes me laugh.
Dude seriously, why haven't we made pinwheels sooner? They are so whimsical and best of all EASY.
Not only did we have a nice crafty night we got in some good quality girl talk. Nothing like some good old fashion girl talk.
Here is my wreath so pleasantly and cheerfully hanging on my front door.
It Alllmost offsets the burnt red siding and falling apart bricks. Ahhh I love it.
The random adventures of a newly wed thrift-aholic. Blogging about everything from vacations to homemade laundry soap. It's all about saving where you can and spending where you want.
Showing posts with label crafty things. Show all posts
Wednesday, June 29, 2011
Monday, March 14, 2011
St. Patty's Day Wreath
I know you must think I forgot to show you my St. Patty's Day Wreath. Don't worry I didn't! My time has been sucked up by volleyball lately but this past weekend and the next one I don't have tournaments so it's a mini 'get everything cleaned and back together' vacation.
I was plesently surprised with both wreaths, and actually even more that I am a 'wreath person' I never got into them til recently. Browsing the endless DIY crafting blogs inspired me.
For my St. Patty's Wreath you will need A LOT of green felt, I used 2 different shades. Cut into circles, I used a glass to measure the circles. A straw wreath, wrapped in celophane. Some simple sewing pins, and a decorative ribbon to finish it off.
So simple! Take a pin and insert it in the middle of the circle, then pin to the wreath, add felt with pins so that they squish the other felt together, making it look like flowers!
Voila! Happy St. Patty's Day to you! Next up, my spring wreath.
I was plesently surprised with both wreaths, and actually even more that I am a 'wreath person' I never got into them til recently. Browsing the endless DIY crafting blogs inspired me.
For my St. Patty's Wreath you will need A LOT of green felt, I used 2 different shades. Cut into circles, I used a glass to measure the circles. A straw wreath, wrapped in celophane. Some simple sewing pins, and a decorative ribbon to finish it off.
So simple! Take a pin and insert it in the middle of the circle, then pin to the wreath, add felt with pins so that they squish the other felt together, making it look like flowers!
| Finished product! |
Friday, February 4, 2011
Valentine's Day Crafts
Sometimes I wonder why I get all moody and tired and stressed. Um hello maybe because you don't stop. I can't help it but when I'm super busy I just find stuff to myself to continue on the super busy path till I just burst.
I really need to learn to slooooow down. But till then you get to see the craftyness I've been up to.
I found this lovely fabric flower wreath here. This project took me way WAY longer than anticipated, but it definately is worth the hard work, don't you think?
I think for St. Patricks Day I'll do something like this.
But of course in different shades of green.
My biznit and I had a long overdue date this past weekend. She found this and we HAD to make it.
It's a multi holiday decoration! One side is for Valentine's Day!
And the other side is for St. Patrick's Day!
From now on we will have craft days every other month. It was a blast!
And this super easy craft literally took 2 minutes. Draw a heart, fill with glue, put random sized red buttons in the heart. let dry and erase pencil drawn heart! I'm guessing this would work wonderfully with a shamrock too and green buttons.
I really need to learn to slooooow down. But till then you get to see the craftyness I've been up to.
I found this lovely fabric flower wreath here. This project took me way WAY longer than anticipated, but it definately is worth the hard work, don't you think?
I think for St. Patricks Day I'll do something like this.
| found on feltsocute |
My biznit and I had a long overdue date this past weekend. She found this and we HAD to make it.
It's a multi holiday decoration! One side is for Valentine's Day!
And the other side is for St. Patrick's Day!
From now on we will have craft days every other month. It was a blast!
And this super easy craft literally took 2 minutes. Draw a heart, fill with glue, put random sized red buttons in the heart. let dry and erase pencil drawn heart! I'm guessing this would work wonderfully with a shamrock too and green buttons.
Have you taken on making your own decorations rather than purchasing them?
Friday, December 17, 2010
Dollar Store Christmas Decor!!
I have some great Christmas decorating ideas for you :-) Of course I did not take pictures of the process of all of these but they are so simple I have faith you will be able to do it without.
Josh laughed when I told him I wanted to hang snowflakes in the windows. Perhaps it was when I said "glittery sparkely" snowflakes? I found them in packs of 5 at the dollar store, so this literally cost me $2 (I got two sizes). Tied them all with white string, or you could use fishing wire if you have some and hang! So easy! And I like how they spin and glitter against our Christmas tree.
Next up, Joy!
I got these letters for under a $1 each, paint also under a $1 and you guessed it ribbon on clearance for under a $1. Painted 2 coats of paint on the letters, once dry flipped them over and hot glued ribbon to the back and hung them up! I'm almost tempted to do this to all the doors in the hallway. Maybe do, Peace, Love, Noel? The posibilities are endless!!!
Monday, December 13, 2010
Grey and black swirlies
Excuse me while I finish my frozen dark chocolate chip cookie...mmmm something about a cookie being frozen makes it so much better. On that topic...if you are jumping on the frozen cookie bandwagon, fig newtons frozen are pretty darn good.
I was sitting here eating my cookie and tending to my pretend farm on facebook, yes I had a very eventful night, I'm reminded I've never given you all a full updated look of our grey and yellow office. I made some finishing touches in the past week. While it is not fully complete, I will share. Pardon the random things on the floor and desk.
You get the idea :-) What's that? You want to know who did the lovely art on the wall? Oh that was silly ol' me! How did I do it you ask? Well, simple really. I took two same sized frames and took the glass out. Then I went to my friendly Joann's Fabric Store and picked out a lovely swirly black and grey designed fabric that was just waiting for me in the discounted remnant pile, while there I also picked up a role of cork board. It all came together by layering the fabric then the cork board then the backing to the frame and voila! You have your very own personalized cork boards!
We got the desk, chairs and middle drawer from Ikea, the nice yellow mini table perfect for our ginormous printer, on the right at Target on what? on clearance! what what! And the bookcase was from the upstairs bedroom which we are clearing out so we can fit a bed and dresser.
Woo hoo! Slowly but surely we will get this house in tip top shape! Just in time to start all over again :-)
Saturday, July 31, 2010
Teal and Black Wedding : Invites
Since I have been on a roll lately with my blogging I think I will go back to recapping our wedding. Fill you in on the nitty gritty.
First... you are invited to come along as I start this recap journey with our oh so fitting beginning...the Invites.
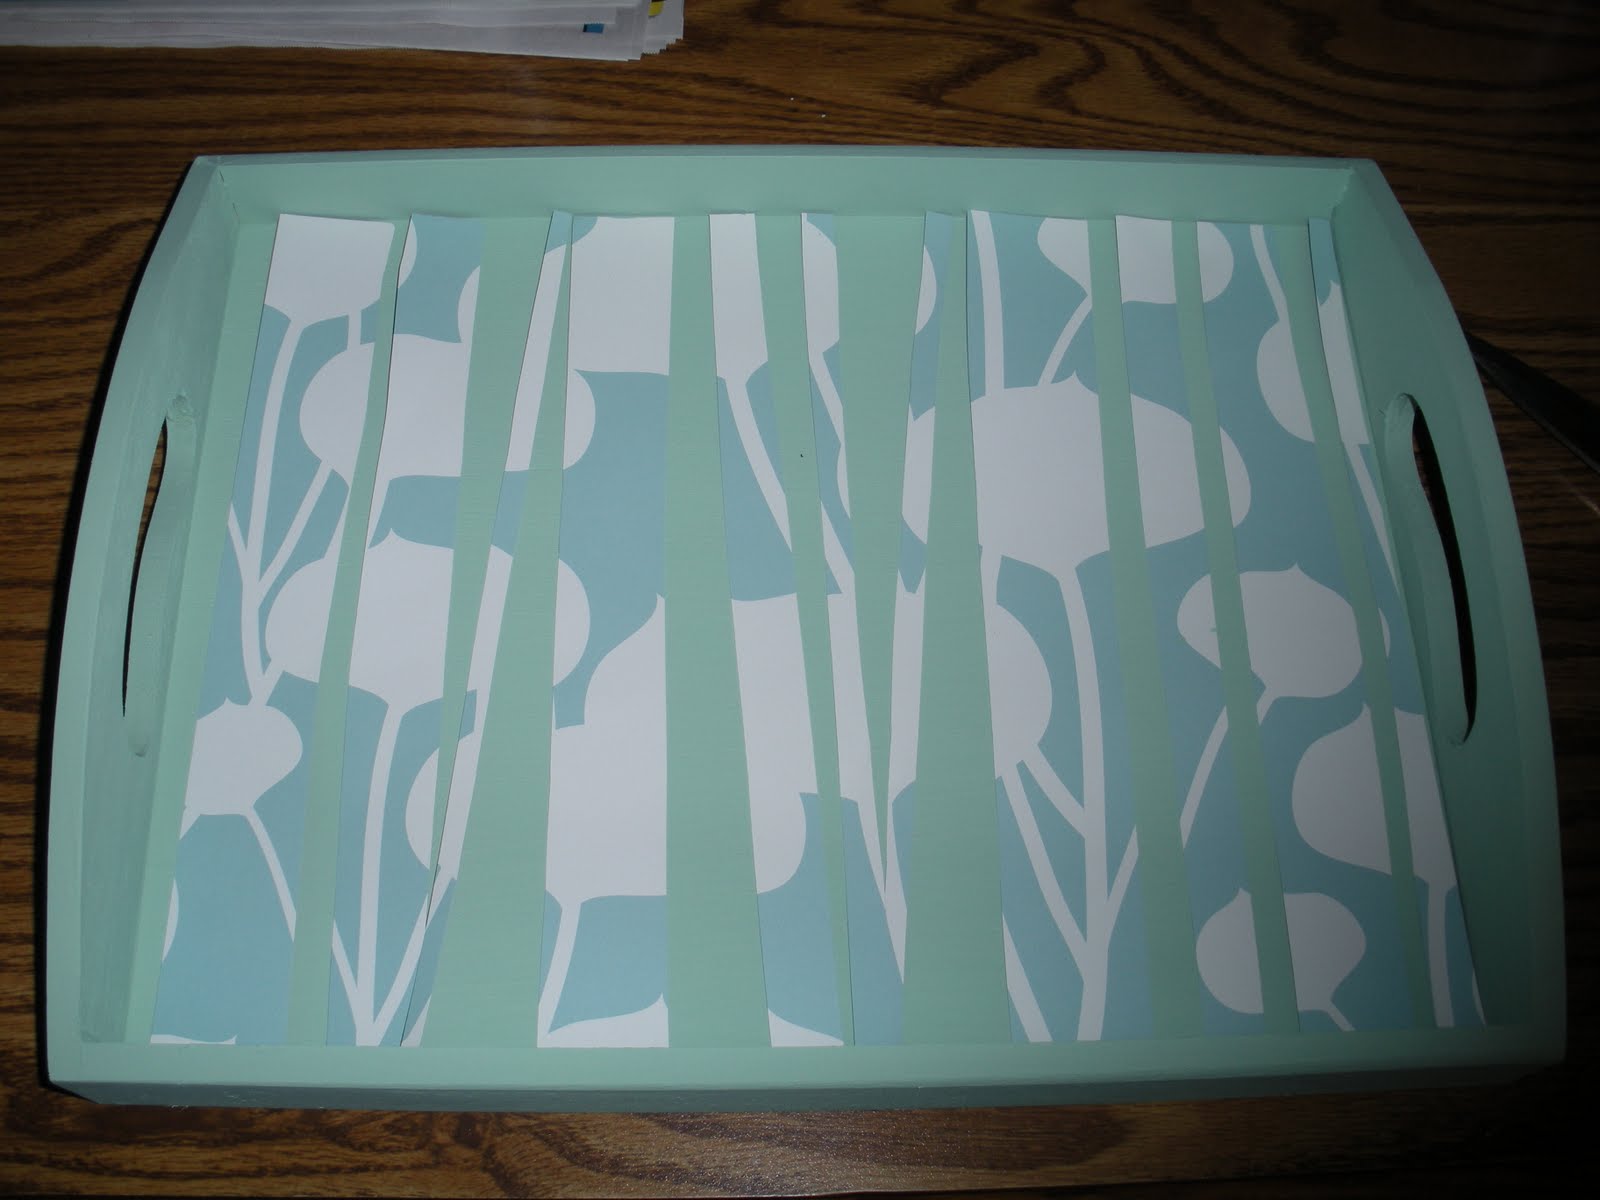
I knew I wanted to do something crafty. But with Volleyball in full swing and working full time oh and moving into our home, there just wasn't the time to be making these from scratch. So I did a little of both. I worked with Modern Ink Studios on Etsy.....oh how I looooovee Etsy....
I purchased a digital file for the invite, response card and map. I then went to Michaels with my 40% coupon in hand and individually purchased packs of black invites. Along with black ribbon.
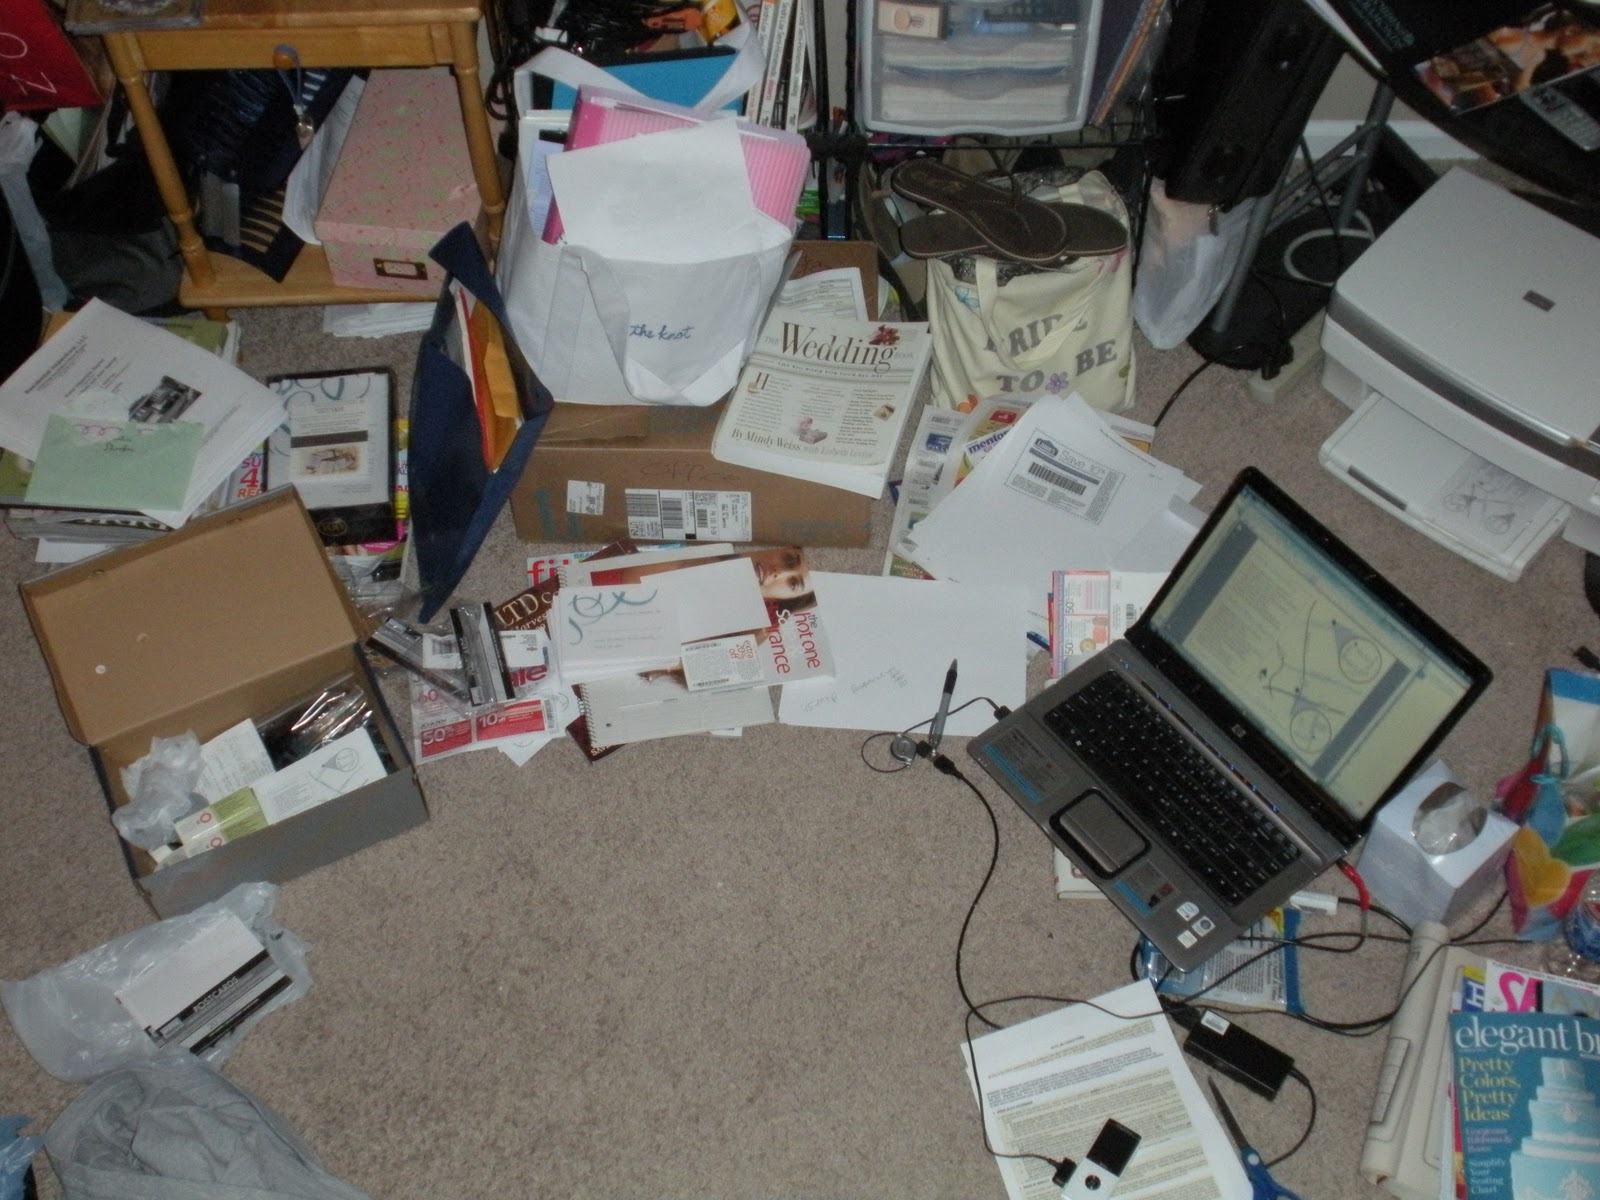
This is what my bedroom floor looked like many times during the wedding planning...or as my Dad would call it..The Command Center
Scary I know
This is a little better. I had an organized system...with any event organization is key! Oh and Starbucks too :-)
Did we need maps? No...but they were so cute. After all we didn't want anyone to get lost now did we?
So I literally printed out about 90 invites, 90 response cards and 90 maps. From my trusty Kodak printer...which I purchased from another awesome site, which was of course a steal. Woot!
Before assembling I got my invite list printed, labels printed, invites printed, bows bowed, glue dots ready, stamps and address stamper*.
Assembling went pretty well...took awhile but I just pounded those babies out. The hubs did assist with stamping (both the return address and the lovely polar bear stamps)
| I look so thrilled don't I? |
Instead of having an inside envelope for the response card, we cut down on some $$ by having response postcards. Not onlly saving money in envelopes but also in stamps. Postcard stamp for the response cards and a regular stamp (no extra postage, yay) for the actual invite. I felt the need to make it look like a package by adding the black ribbon and bow. It was my way of making it my own. I Semi-Homemade it...Sandra Lee would be so proud.
*Dear Thrifty Bride, Vistaprints has freebies...labels, self-inking address stampers and so much more. Check them out first before you buy!
Sunday, July 18, 2010
I'm too sexy for my laundry soap...
Our house is filled with the fresh clean scent of Fels Naptha.
Remember that laundry soap I made back in February? I am almost out. One batch lasted us almost 6 months.
I highly recommend making your own. It takes 15minutes at most to make a batch and it is so easy! Faster than getting in your car and buying some at the store, or even better faster than clipping coupons and waiting for it to go on sale to get the best bang for your buck. Ingredients are cheap, it is about a penny a load.
How sexy!
Another tip, this one found in this months All You magazine (which is an awesome source for coupons!)...to clean your washer fill basin with water and add 2 cups of white vinigar, let sit for an hour then run through a cycle. Nice and fresh washer!
Tuesday, July 13, 2010
Crafty McCrafterson
Hello my fellow citizens! Those of you from my college years, remember that? Yes I was pretty weird... or as some say...unique.
A few weeks ago I got a crafting idea in my head, when this happens it's stuck in there. Seriously I have to immediately drop what I am doing and run for Michael Moore (Michaels or AC Moore) to get supplies. With the Mr. and I grilling out just about 3 times/week or more these days we were in need of some sort of carrying device so we didn't have to run up and down the stairs 20 times before dinner.
Perfect for wine glass carrying.
Horray for being lazy and not taking 20 trips up and down the stairs! Oh and the Mod Podge is waterproof if you are wondering, just in case we get a little messy.
The options are endless, super cheap craft...possibly even gift?
A few weeks ago I got a crafting idea in my head, when this happens it's stuck in there. Seriously I have to immediately drop what I am doing and run for Michael Moore (Michaels or AC Moore) to get supplies. With the Mr. and I grilling out just about 3 times/week or more these days we were in need of some sort of carrying device so we didn't have to run up and down the stairs 20 times before dinner.
Then the light bulb went off. We are green here people.
We were in need of a tray... and not just any tray, a crafty made by yours truly tray.
So I got myself a plain old wooden tray from Michaels with my handy 40% off coupon of course, and some clearance scrapbooking paper and paint.
Painted the tray with 2 coats of the paint and cut the paper into random width strips. Here it is in all its randomness ready to be mod podged to the tray.
Mod Podged the paper then to the tray and let dry. Then coated the entire tray in Mod Podge about 3 times.
And Voila!
I made swirly brush strokes with my Mod Podge for texture.
Horray for being lazy and not taking 20 trips up and down the stairs! Oh and the Mod Podge is waterproof if you are wondering, just in case we get a little messy.
The options are endless, super cheap craft...possibly even gift?
Friday, June 18, 2010
Pink?!? Part 2
P.I. Buss (before I was a G, I was a B, and I inherited my P.I.ness from the B.) at your service...So my dilema with the pink hydrangea when I thought I was getting blue. Believe it or not you can change the color of your hydrangea by putting aluminum in the soil?!?!?! I'm torn...
Why mess with nature? hello?!?!? it's actually blooming for me, maybe I inherited some of my Grandpa's green thumb?
That's the Horticulturalist with my Mama, how cute are they?!
or maybe just luck? Maybe it wants to be pink, and I have 'pink' days and can understand.
And on the other hand, I long for blue hydrangea's.....
After reading up on color changing, I think I have decided to wait. Often times Hydrangea's can change themselves. So we'll see what next summer brings. Plus I want it to get used to it's new home. So I will learn to love my bright pink hydrangea.
Saturday, April 24, 2010
It's SEW nice...I wanna sing the same song twice
Gotta love RBF, I'm 'ska-ing' on the inside. I'm sure they meant 'so' and not 'sew' however.
How random is this blog? Seriously, you must think I'm nuts. You're right. I like to do lots of stuff, and they don't always make sense or go together. Like when I was in high school, I was in choir, girls ensemble, county choir, and then on the high school Volleyball team. At my high school those things didn't mix well. So now you understand a little more why I am all over the place? I was made that way...not my fault. :-)
One of the many skills Mama B taught me was to sew. She would sew a lot of our clothing growing up, my sister and I often were dressed as twins, especially around the holidays. She even at one point had a side business of making cabbage patch doll clothes! In the future I hope to teach this skill to my little girl (s)(who has ringlets of red hair).
One of my good friends is pregnant with her first child, and really this is the first of my friends to become pregnant so it is very exciting. What better gift than a hand made one? I came across a few patterns on Etsy. First the nursing apron.
No body needs to be seeing the goods, right?
By no means am I an expert seamstress as the picture above shows you.
I love the fabric, don't you? I hope the Mama to be does too! We'll find out tomorrow.
Next up was the nursing pads
No body needs to know you're lactating.
I love to sew, and really wish I had more time and patience for it.
Friday, January 22, 2010
Oil and Water
Adventure 1 of this weekend is making lotion. A few weeks back at our family Christmas party my Aunt Kathy introduced me to some of her homemade hand lotion. So of course I needed the recipe!


Here it is:
Waters:
2/3 C Distilled Water or Rose Water ( I used Distilled)
1/3 C Aloe Vera Gel
1-2 Drops of Essential Oil. ( I used Lavender)
Vitamins A or E ( I used E)
Oils:
2/3 C Sweet Almond Oil
1/3 C Coconut Oil
1/2 to 1 oz Beeswax
Put 'waters' in the blender on high.
In small saucepan, melt 'oils' together to soften and melt beeswax.
Add 'oils' to 'waters' and blend blend blend and the mixture will thicken.
Presto you have lotion.
End result...interesting. I'm not sure if I like it. It doesn't smell like lavender it smells like coconut and beeswax, which I'm okay with, maybe next time I'll put more of the lavender in. It does however have super mosturizing properties.
Adventure 2 laundry soap...yes these are my kind of adventures...I'll take this over skydiving any day.
Subscribe to:
Comments (Atom)


